The Hidden Secrets about Ghost Mannequin Photography for Apparel Business.

The apparel industry has gone from the offline market to the online market that is e-commerce. Many large online shops are now selling apparel products or giving opportunities to small and large companies to sell their garment products.
If you are a hardworking and optimistic e-commerce web store owner, then I want to give you some valuable tips which can help you to lift your apparel e-commerce business at a new height. If you get benefit from this feature, do not forget to give a thanks to this professional photographer and graphic designers; yes, that’s me!
Tips 1:Let’s begin our discussion.
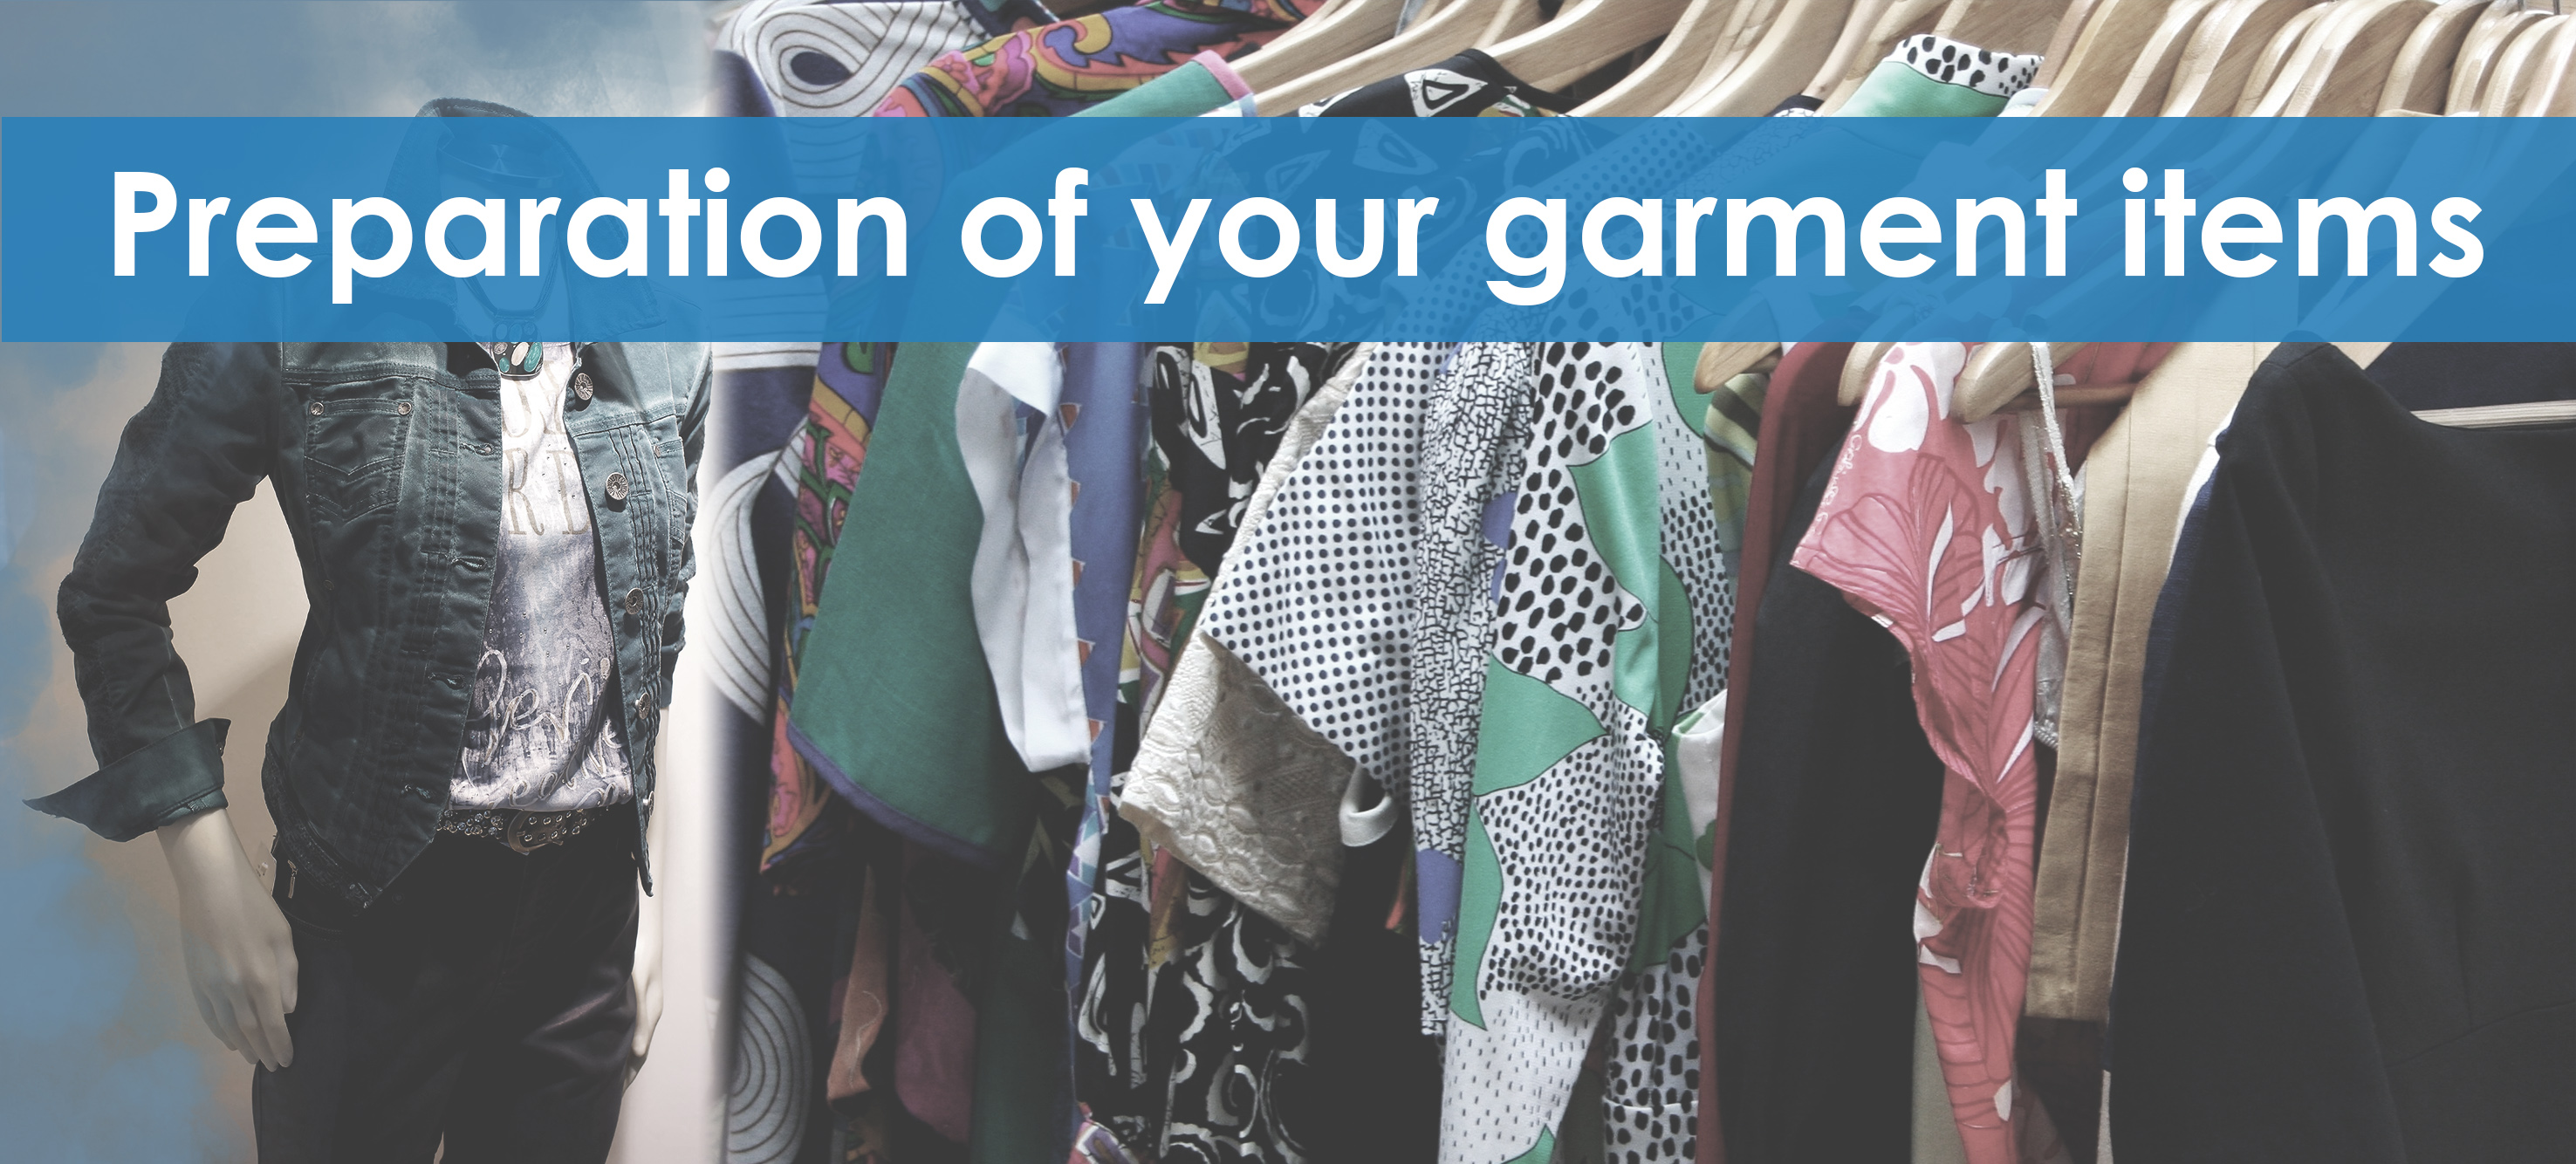
You must concentrate and give importance on the fact that your product must have to look good as much as possible. Why? Attractive garment photo can attract more customers. There is a basic problem arises when you go to shoot garments photo. Generally, when cloth samples are stored and transported, they become wrinkled, creased, and begin to look worn. The most critical part of apparel product photography is to prepare the garment item perfectly.
Many photographers depend on Adobe Photoshop to remove the unwanted wrinkle or stains from the clothes. But my suggestion is- “never do this”. Because Photoshop is not a magical thing which can give your apparel products an attractive look automatically. Years of expertise are needed to edit photos perfectly in Photoshop. Remember, excessive editing may hamper the quality of the image. From top to bottom, thoroughly examine your product. Remove unnecessary tags, stickers; repair damages and remove distractions. Try to capture the images as close as possible and use Photoshop only for the final touch.
Tips 2: Time to set up a photo studio
Almost any kind of room can be chosen for the photo studio. Collect camera, tripods, and white papers. A source of natural light is necessary during the preparation of your photo studio. For avoiding distraction and keeping the actual product color, you can use a white or light gray backdrop. Once the backdrop is ready, place your mannequin in the middle of the backdrop and in front of your camera. The camera is the most key part of a successful product photography. You may use a DSLR with minimum manual exposure and aperture settings. If it is expensive, you may use a smartphone too. Use a tripod for stabilization and a shake free photography. Place the product face to face position of tripod and camera. For different angles, move the products; not the tripod or camera.
Tip 3: Lighting
For apparel photography, natural window light source is the most inexpensive but high quality light source. Try to utilize the maximum of this natural light source. If the natural light source is not enough or you need some sorts of different lighting positions, you may collect lighting equipment’s. For a single light setup, you can collect light head, soft box, c-stand, battery pack, pocket wizard etc. However, now you have to determine the lighting position. If you are going to use the natural light source, position the mannequin near a window. Otherwise, you can use the light set up for your apparel photography.
Tip 4: Styling of mannequin
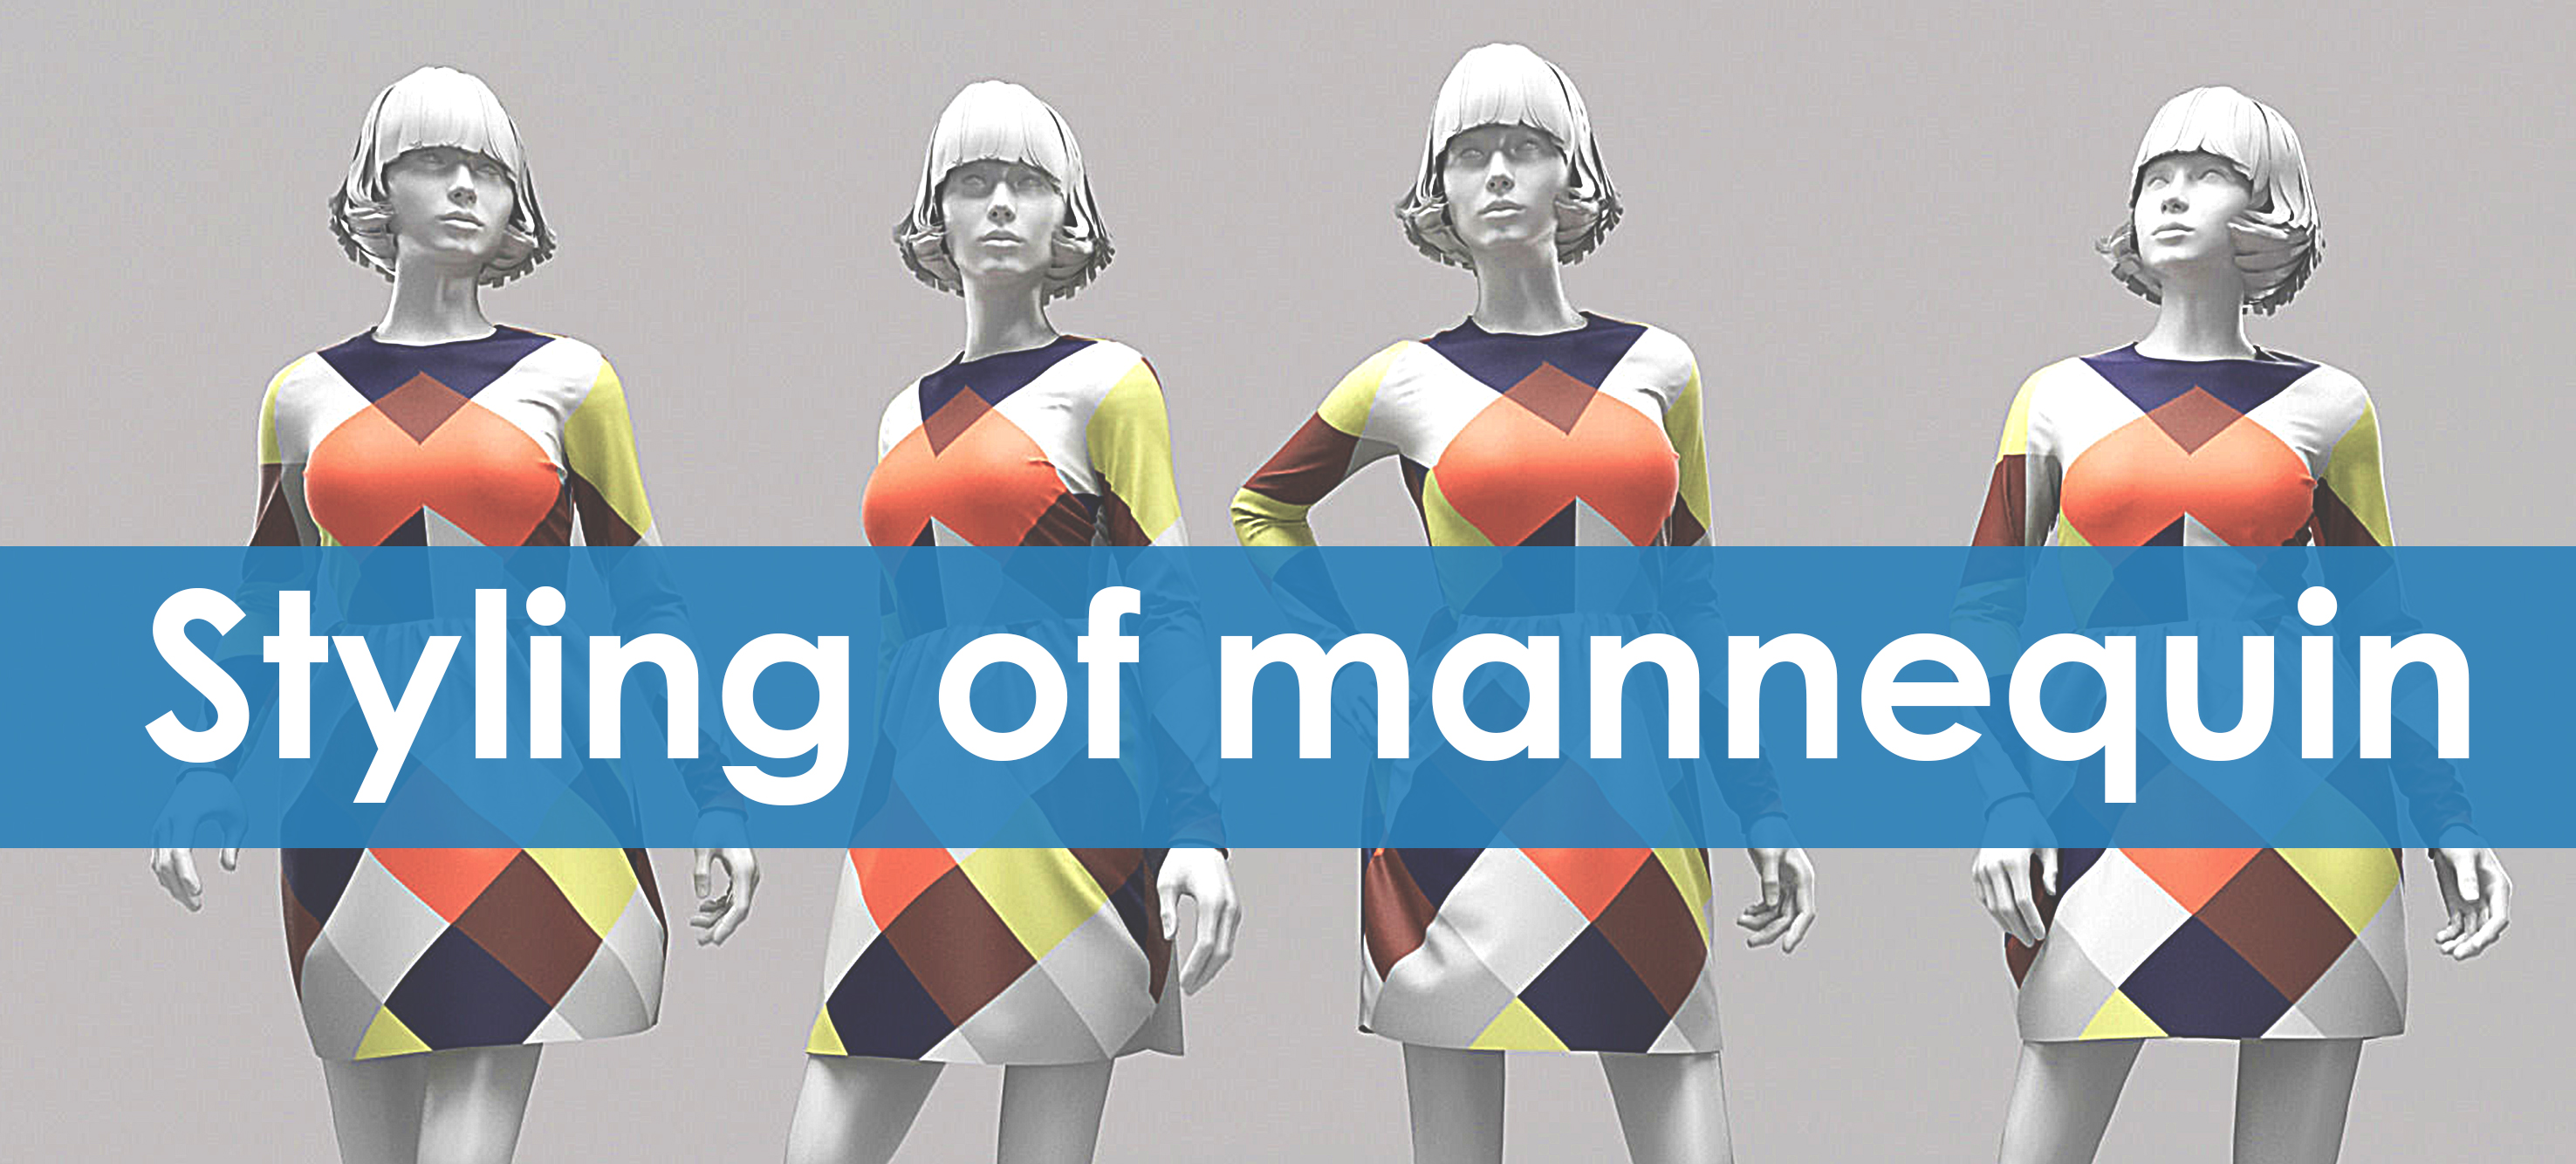
Generally, for apparel photography, models or mannequins are used to show the shape and fit of each garment item. However, for e-commerce website, it is not necessary to show them (mannequin) in every image. They can be removed by using Photoshop. But if you are an apparel e-commerce entrepreneur, you may not have enough time to edit all the garment images.
At first, you have to select a mannequin and fix a position for the final photo shoot. The first option is, you can also use a “ghost mannequin illusion” or graphically created mannequin by using Photoshop. The second option is, you can use a real mannequin to display your apparel products and after capturing images, you can remove the mannequin from the photo via Adobe Photoshop. Choose mannequin models according to your requirements.
You have done all the things perfectly, but your camera is in the wrong settings. All your efforts will be meaningless and bring no benefit. You must need to understand ISO, aperture, white balance settings of your camera before you start photographing. Set ISO limit at no greater than 600-640 because higher ISO causes gray spots or colored spots. It deteriorates the quality of images. For image sharpness, make sure that the ISO settings of your camera are properly adjusted.
Aperture, of camera settings (e.g. f/16, f/2.8), controls lens focus. The larger the aperture number, the more detail of the product in the image will be in full focus. A white balance of the camera should be adjusted to the nature of the light source or types.
Tip 6: A perfect photography
Now you are ready to proceed for your photo shoot. Allow the camera to focus your product and then take the shot. Take snaps as many as you can. The more you shot, the more detailed photos can be captured. Shot front and back, left to right up to down or from various angles.
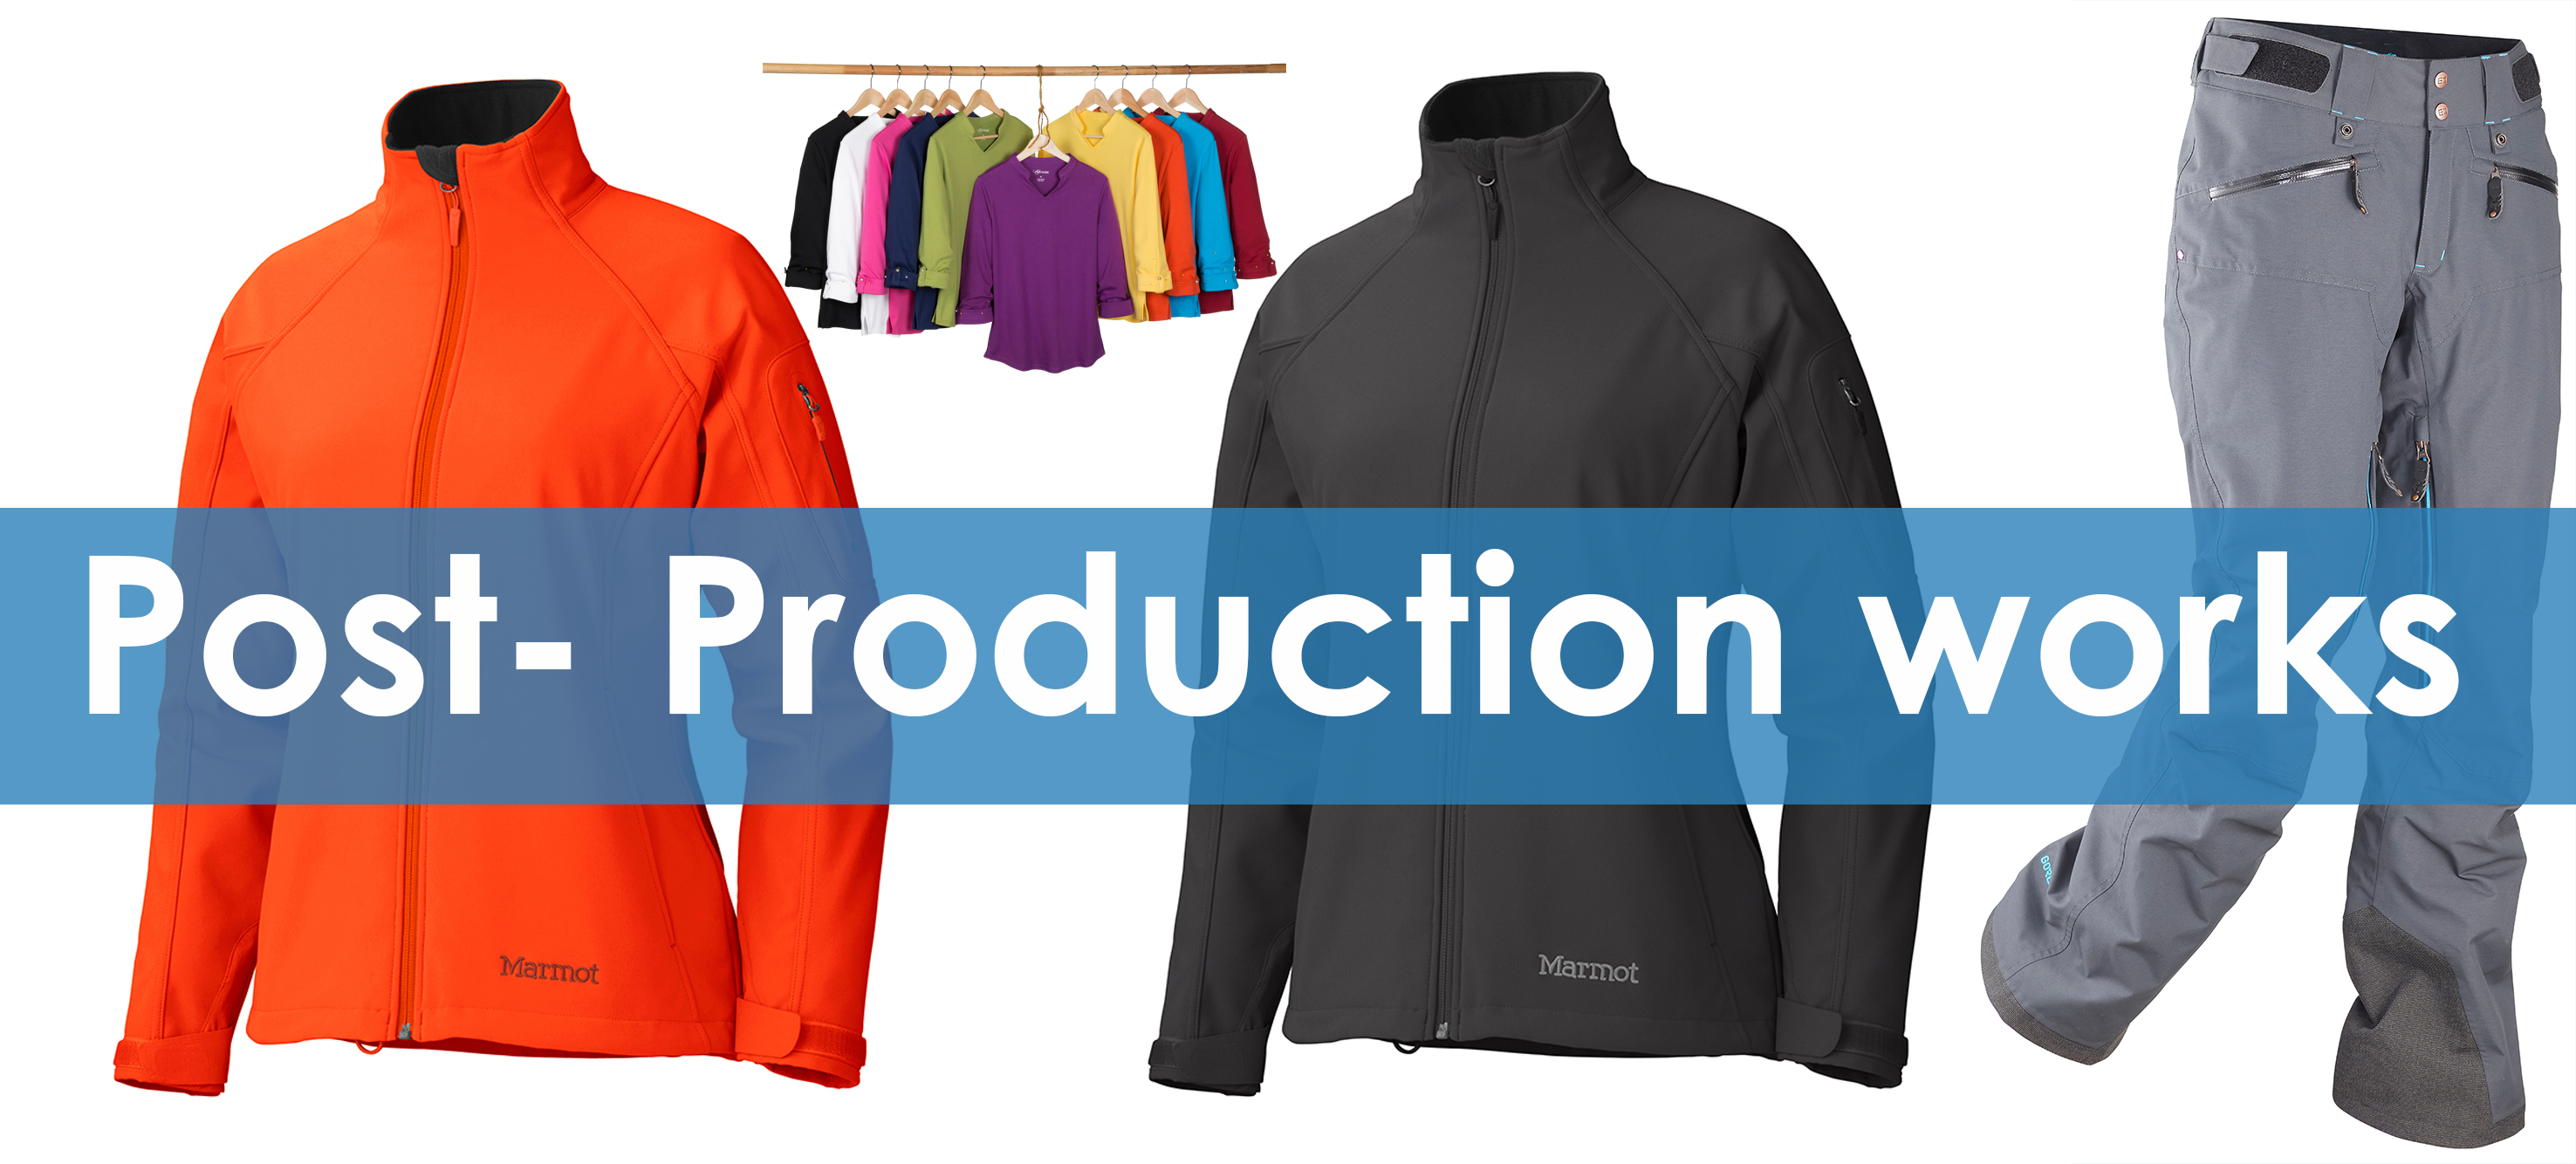
The post production works are needed to give the ultimate professional look of apparel items. This includes various photo editing works before displaying the products on the website. For example- clipping path, background removal, neck joint of ghost mannequin, alignment and color correction.
Various statistics show that a clear and detailed photo of a product can boost up the sell in a tremendous way. So if you want the maximum financial benefit and create a brand value, you can follow these tips.
Have a good day!


