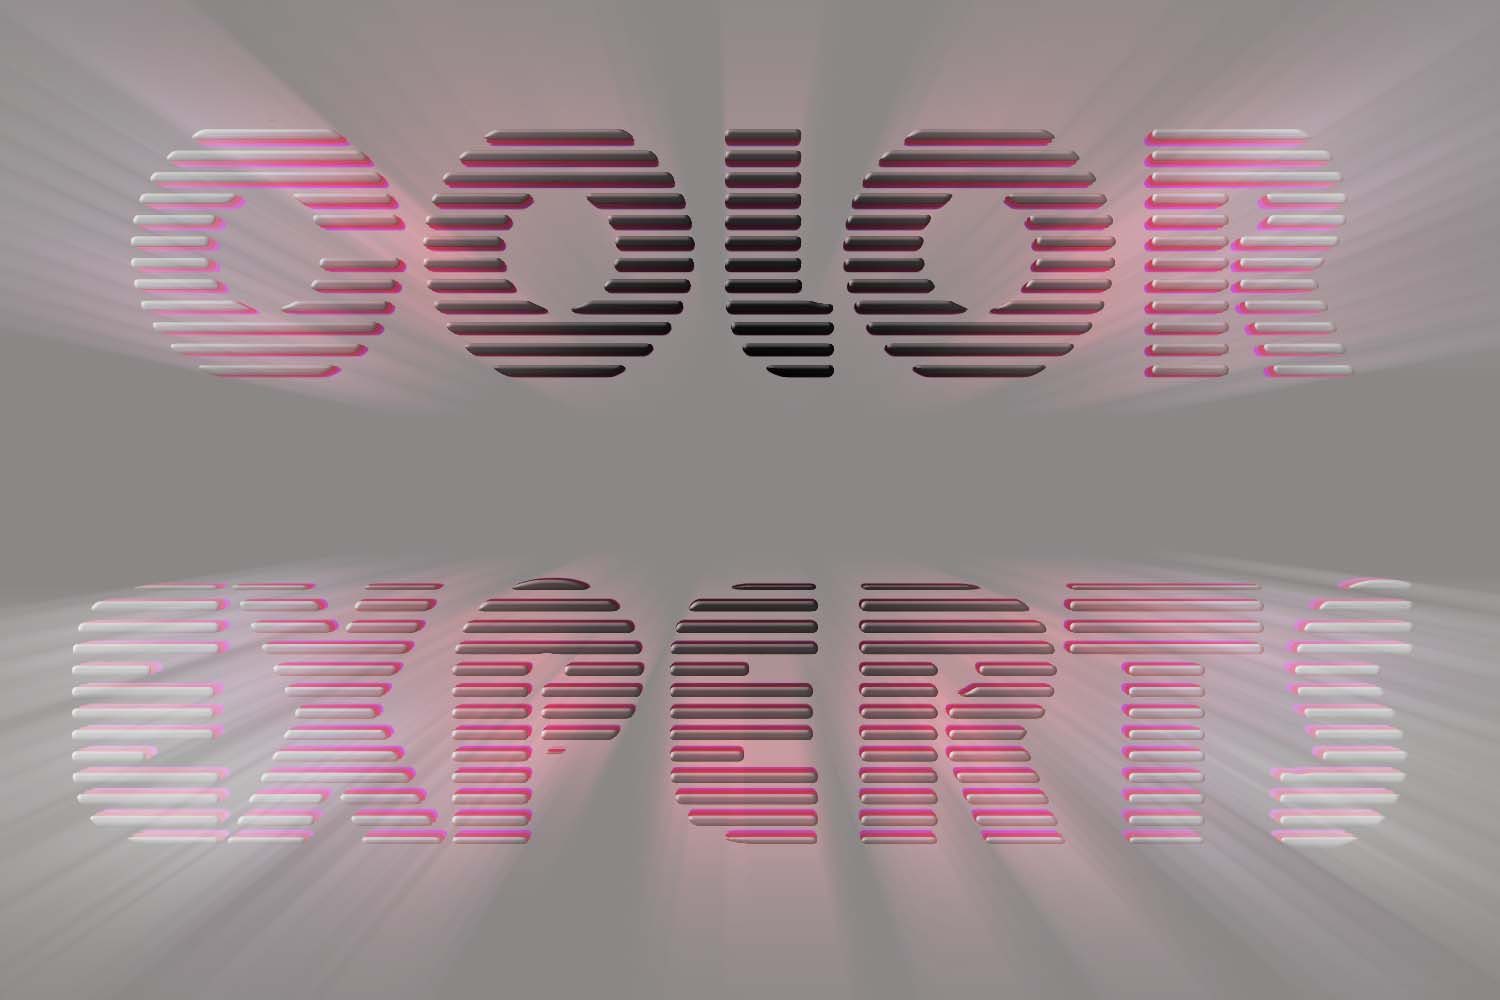
Make a 3D Layer Text Effect in Photoshop
Today we will try to make a 3D Layer text effect through Photoshop. Create a new document with the size 1500 x 1000 pixels. In where I set background will set at gray color. Resolution will be high and 300 pixel/Inch. Font size will be 93px and black and used Bauhaus 93 font.
Now go to Layers palette and select without Background all of Layers. Then follow this:
Layer – Align – Vertical Centers and again Layer > Align > Horizontal Centers. It needs when we will make Rays.
Now create a new layer named it Strip. Through press “d” set the background color Black and White. Then press “x” swaps colors. To fill the strip layer press Alt+Backspace. Then go to Filter – Sketch – Halftone Pattern and set Size (3), Contrast (50) and pattern type – line. Press OK.
Press Alt+Click between the Color Experts and Strip Layer. Press Ctrl+T or go to Edit – Transform and expand it from up and down. Also left and right. It will look as the picture. Go the Layer Palette and select both layer strip and Color Experts and press Ctrl+E to merge these.
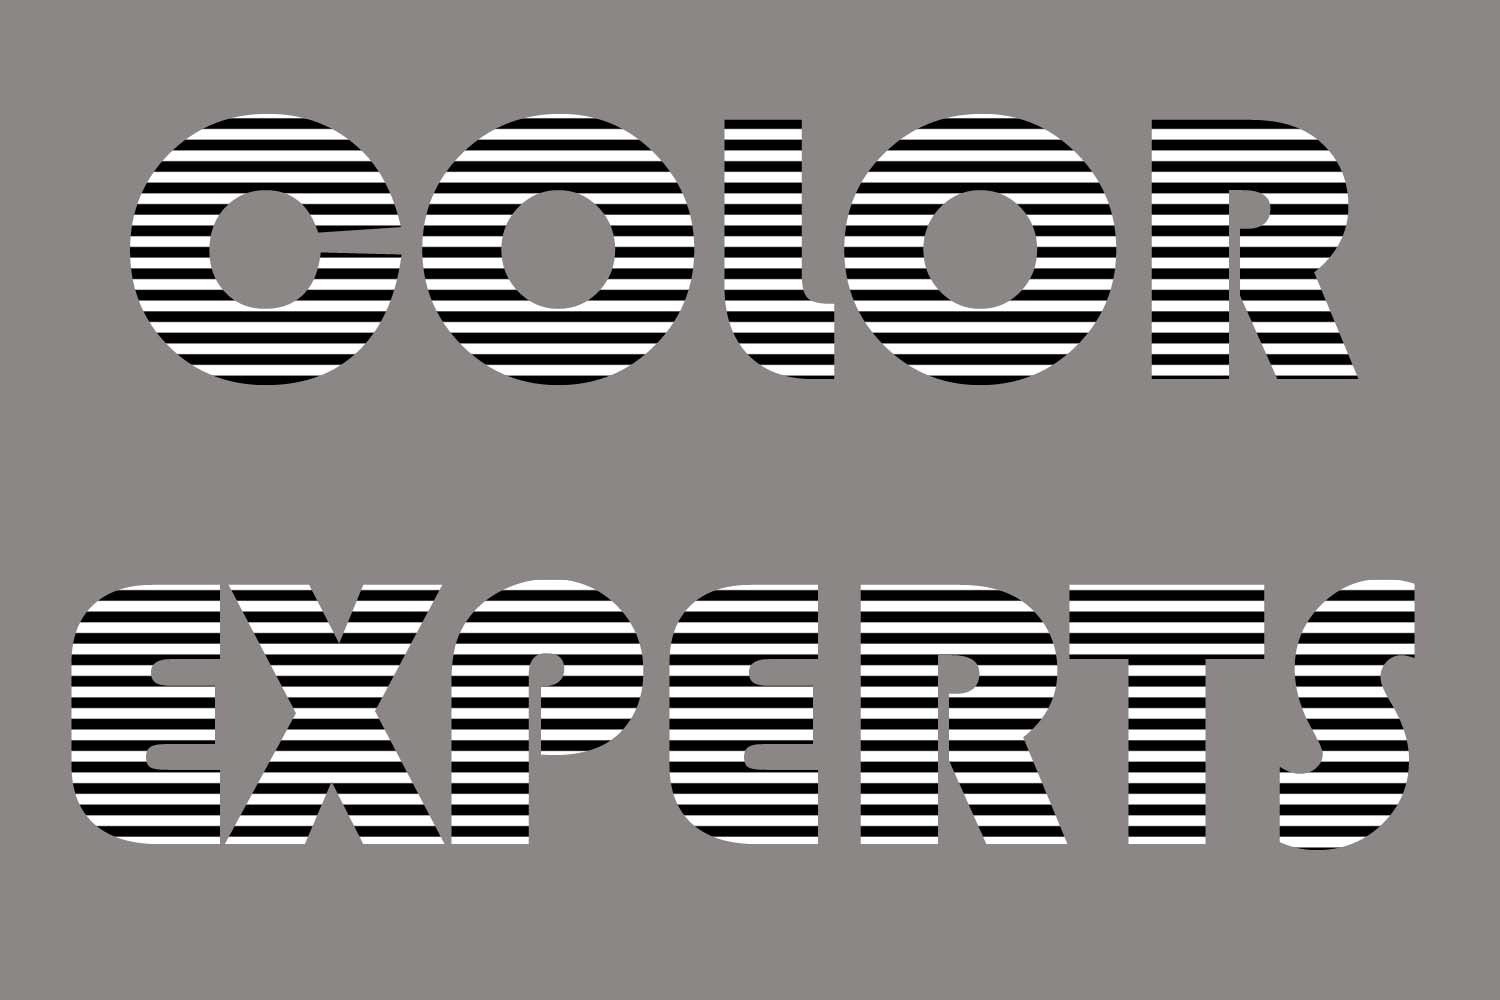 Press the Ctrl+Click on the Strip Layer and press Ctrl+c. Then go to channel and create new and paste by press Ctrl+v. To make some rounded deselect it through pressing Ctrl+D. Now go to Filter – Blur – Gaussian Blur set the following. Radious 2 pixel, go to image – Adjustment – Level and set shadow input level to 120, highlight input level at 155. Press OK and here if you see any small white area fill it by black color. The image will look like:
 Now we got the white areas selected. Ctrl+Click on the “Alpha 1” channel and go to Layer Palette, delete the Strip layer. Create a layer named it Front. And fill it by the color of #b3b3b3. Deselect it by press Ctrl+D. Here we will apply Gradient Overlay Layer style and set Blending Mode – Multiply, Opacity – 100%, Gradient – Black, White, Style – Radial, Angle – 90, Scale – 150%, and Align With Layer – Unchecked.
Apply Bevel and Emboss style. Set Style at Inner Bevel, Technique to Chisel Hard, Depth to 120%, Direction at Up, Size of 2 pixels, Soften at 2 pixels, and Angle at 145 and Altitude to 55 degrees. Make Highlight and Shadow Opacity values at 75%.
Now Duplicate the Front layer through press Ctrl+J. Here make Bevel and Emboss style invisible.Make a layer on Front Copy Layer and named it “ex”. Both ex and Front copy Layer merge by select and press Ctrl+E. Drag the Ex Layer under the Front Layer. Make front Layer invisible in this step.
Add some color in here. Select ex Layer and go to Image – Adjustments – Hue Saturation. Select Colorize, set Hue at 40, Saturation at 35. Press OK.
 Now open the Action Palette through go to Window – Actions. Open the menu in Action and select New set. Press new Action Button and named it Main. To save it click on Record button.
 In here select Ex Layer and duplicate it by Ctrl+J. Press Ctrl+T and set Horizontal and Vertical Scales at 99% and click on the Tic sign. Press Ctrl+U to show the hue/Saturation and set Hue at -50 and Lightness at -8. Press OK. Ex Copy Layer drag and place it under Ex Layer. Click the stop button of Action Palette.
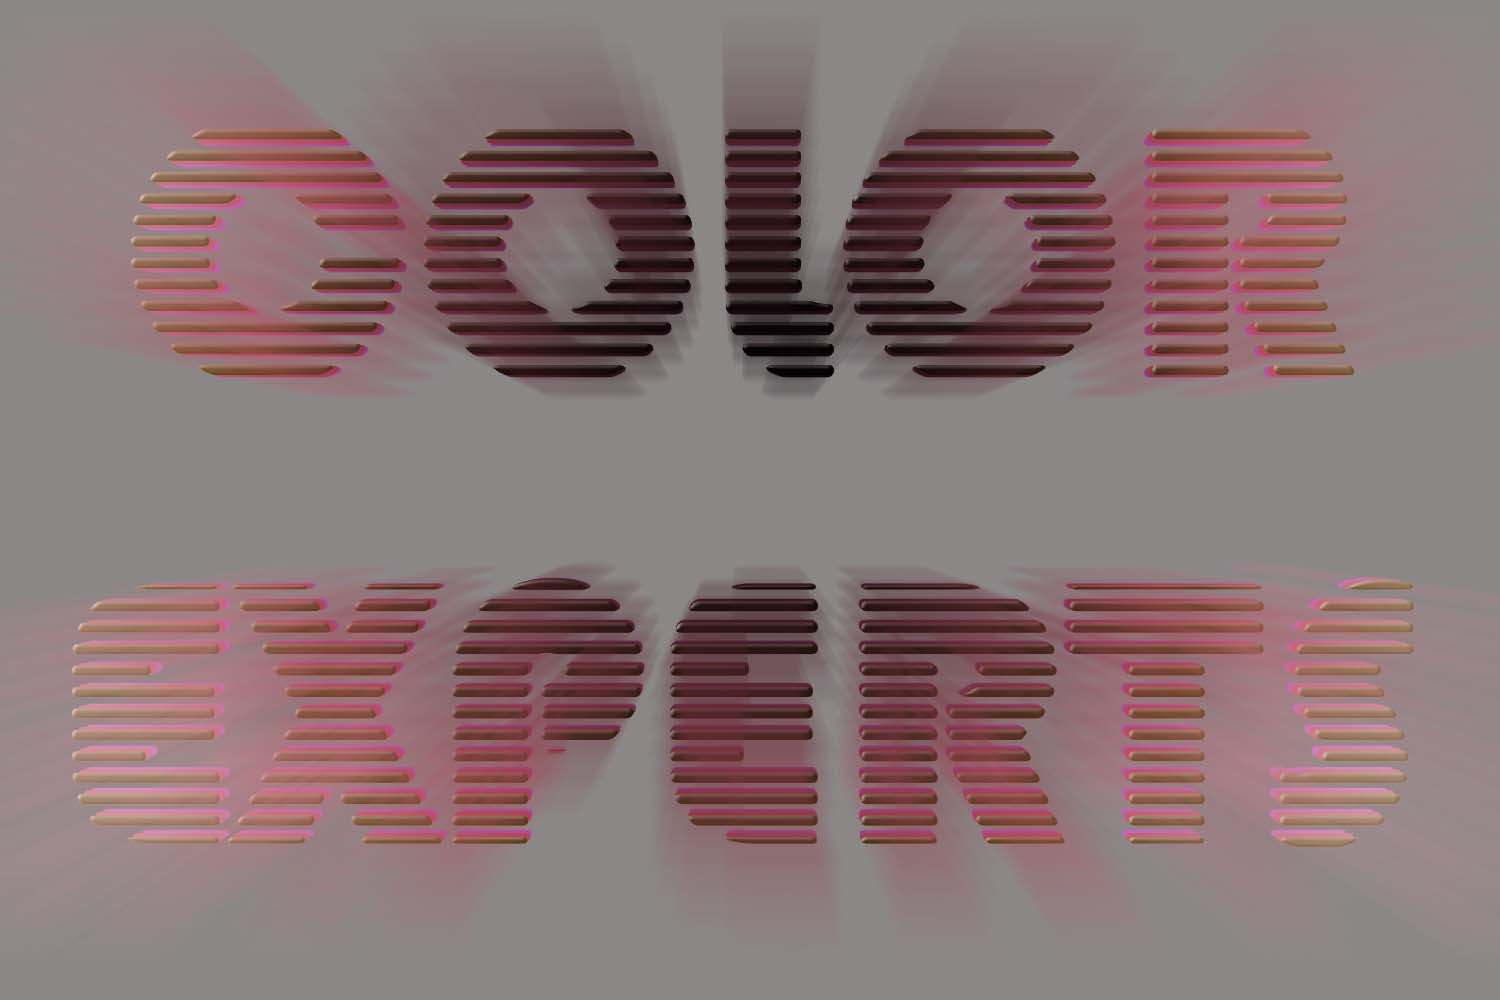 Duplicate Ex layer by press Ctrl+J and named it “R Ex”. Select the Ex layer and Main. Play the action Button 24 times. Now select all Ex, Ex copy layer and merge all by press Ctrl+E. Turn on the Front Layer now.
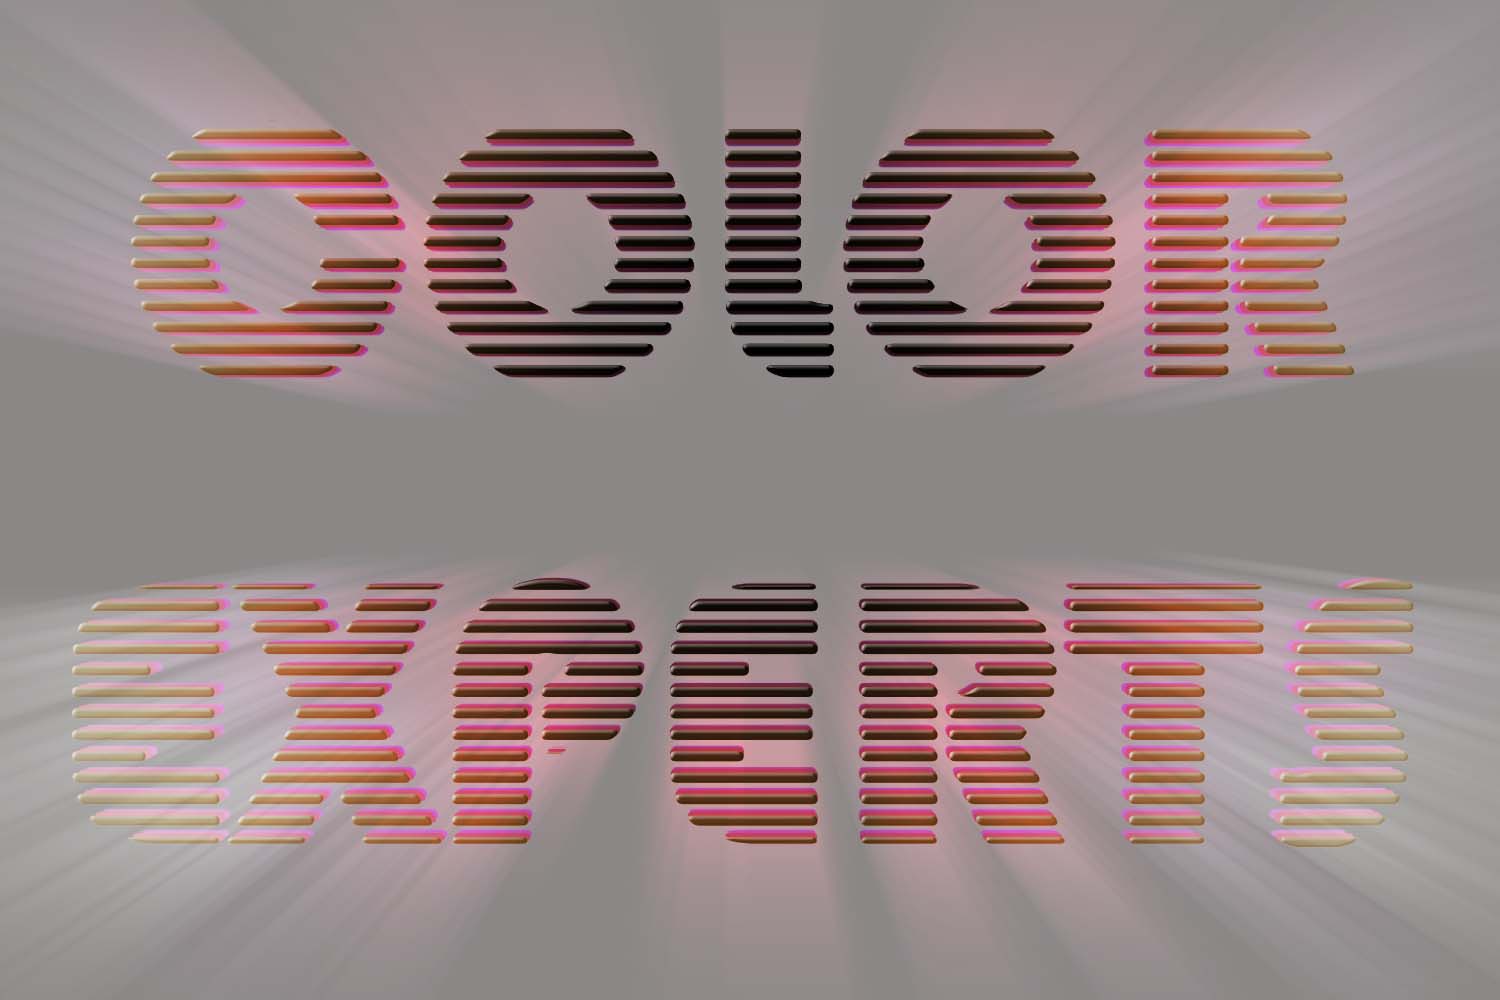 Duplicate Ex layer named it “Ray”. Move it on the Top. Now go to Filter – Blur – Radial Blur, Blur Method to Zoom, set Quality to Best, Set Amount at 100 apply. Hit Ctrl+F to apply. Set the Blend Mode to “Ray” layer at Color Dodge.
Now we will make more and more reflection in this step. Press Ctrl+J to Duplicate Front layer. Create a new layer and save it “R Front”. Select both layers Front and R Front and merge by Ctrl+E. Move the reflection layer above the Background layer. The Final Image is given below:


