Easy way to create an Ice text effect
In this tutorial we need special font and a canvas with the size of 1600 x 1200. With the adobe Photoshop we will open a new document with the above size. Let’s start to make it. The foreground and background color will be #000000 and #000000.
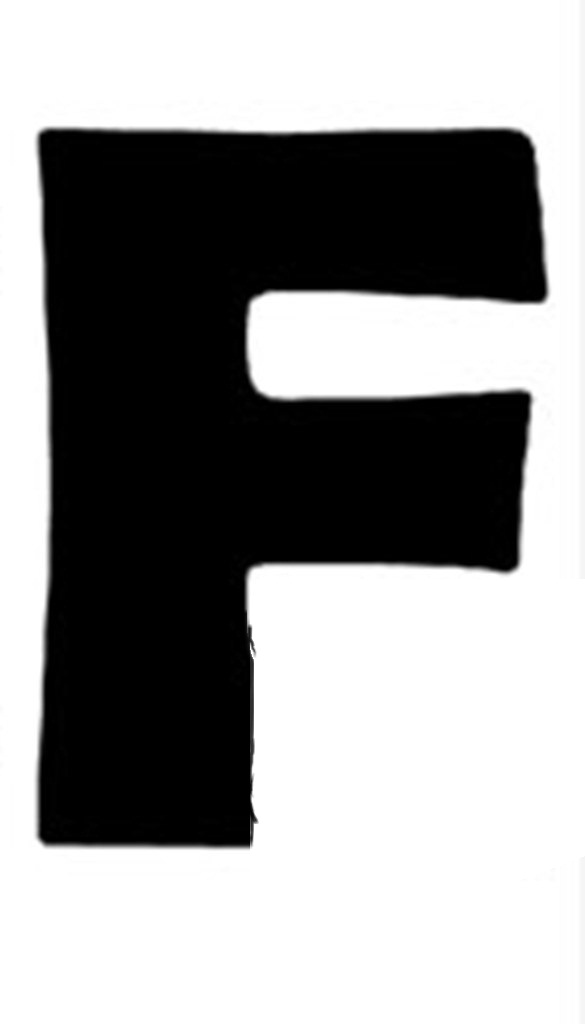
Then choose the text and write something on text layer. I wrote “F”, but you can write anything on your layer. After writing your text will look like below:
Ice text effect in Photoshop
Now go to Blending Option. For these go to Menu to Layer. From Layer to layer Style then Stroke. Then select color reset stroke at 15. This will look like the text more gorgeous.
In here create a new layer through clicking Menu – layer – new layer. Click on brush and select the one. Which type you want to paint, just it will use for ice effect. Now we will work with the Brush. Make the brush softer.
In this step click on brush area, press and just move quickly. Exchange “ICE” Layer in Smart Object by going to the Right-click then Convert at Smart Object. After then go to Command-click on the Layer’s thumbnail for select whole one. Now concern a Layer Mask to the extra Layers.
With the brush add some and more ice with white color. By which the image will look like realistic.
Make the whole image as look black and water color. For this go to blending option and set it’s Bevel and Emboss, contour, Gradient, Color Overlay, Level. Then pick the brush tool, and choose a normal brush. And the following settings: Shape Dynamics Brush, other Dynamics, and Smoothing. After complete these decrease the size of brush. And again draw as like as previous. You can see the realistic ice effect on text and the figure will looks like below:


