How To Crop An Image In Photoshop

Photoshop crop tool is one of the most basic editing tools used by both photographers and designers. There are actually multifarious ways to crop an image in Photoshop. Whether you simply want to remove the unwanted pixels in a photo, or you want to change the perspective of an object, there is always an option to do this in Photoshop. In this tutorial, we are going to discuss some of the most important cropping methods used in Photoshop.
Set a crop border and crop the image
- Open the image in Photoshop by clicking > File from the menu bar. Then click > Open.
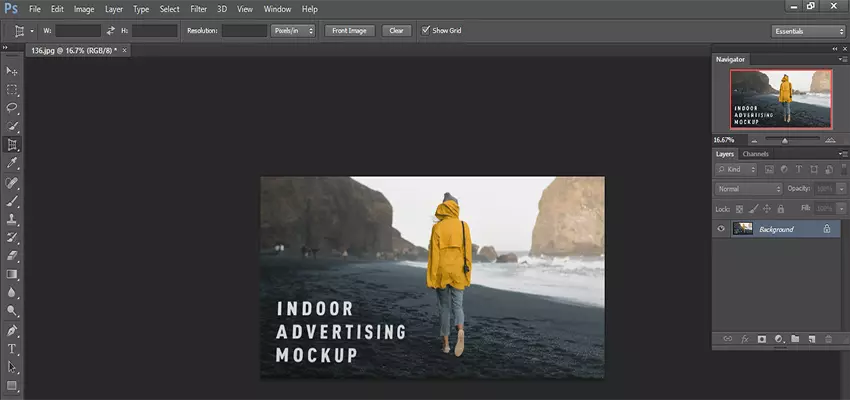
- Select the Crop tool from the toolbar or press C on the keyboard.
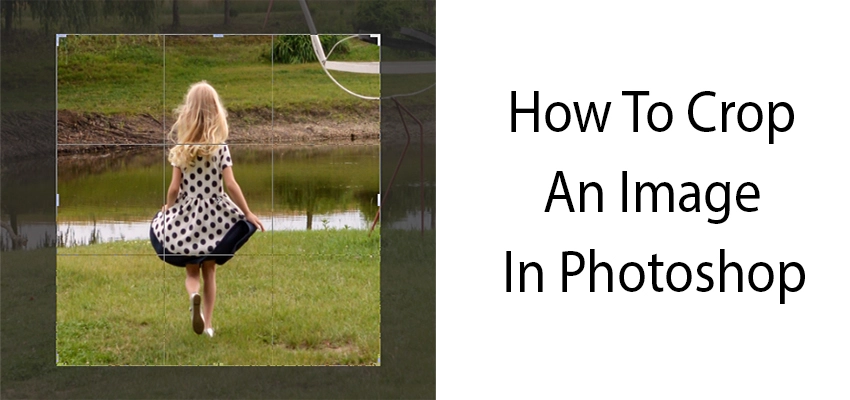
- Once the Crop tool is selected, Photoshop automatically places a crop border around the image. There are 8 crop handles around the crop border- 4 in the corners and 4 along the sides. This crop border can be resized and repositioned on the image by clicking and dragging it by the handles. You can also click and drag the pointer inside the border to reposition the image into it.
- Finally, once you are satisfied with the position and size of the crop border, click on the checkmark in the top options bar to apply the crop to the image.
Get back the deleted pixels when you crop
When you crop an image in Photoshop, the cropped pixels are deleted immediately. However, there is an option in Photoshop to undo this. Once the Crop tool is selected, deselect the Delete Cropped Pixels and crop the image as usual. You can revert back to the original image anytime just by clicking on the crop tool and then inside the canvas again.
Straighten an image by Crop tool in Photoshop
Sometimes you may want to crop an image that may be tilted on one side because of capturing it at an angle. In that case, you can follow this procedure to crop it at the right angle.
- Open the image in Photoshop from the File menu.
- Select the Crop tool from the toolbar or press C.
- Click on the straighten button from the top options bar. Then, drag the mouse pointer and draw a line parallel to or along the horizon with respect to which you wish to straighten.
- Once you release the mouse pointer the corresponding straightening effect will be applied. You can see that a significant amount of pixels will be lost during the process when you straighten an image.
- Finally, click on the checkmark to apply the desired straightening effect.
Crop to a specific aspect ratio
Aspect ratio is the ratio of the width to the height of an image. If you want to change the default aspect ratio of an image and crop it to another aspect ratio, you can do it easily by the crop tool in Photoshop. To do this select the Crop tool from the toolbar and choose your desired ratio from the top options bar. In the below example, we have used an aspect ratio of 4:3.
Crop by the perspective crop tool
Photoshop perspective crop tool can be used to crop a portion of a photo that has a distorted perspective while correcting the perspective. Just follow this procedure to use this tool.
- Select it from the toolbar. You can find it in the same place as the Crop tool.
- Click and drag the mouse pointer to define a rectangular selection on your image. You can also click and drag the corners to resize the selection so that it fits the object you want to crop.
- Finally, once you are satisfied with the selection, click on the checkmark to apply the perspective crop. You should be able to see that perspective is corrected on the cropped image.
You may also like to read: 11 Top Photoshop Tools For Beginners
Conclusion
We have covered the most used cropping methods in Photoshop that are used on day to day basis in post-processing and graphic design works by the professionals. We hope that you now would be able to crop your images in Photoshop efficiently. Hope you have enjoyed this article. Stay connected.


